Common’ Spring we are counting on you!
Nothing like after a what-seems large Winter, to feel the fresh but-starting-to-warm wind, hearing the birds tweeting and checking for the first flowers blooming.
Moods start to brighten up and lift, as well as prepping for a warmer clothing season and people, in general, feel more positive and happy.
What about Home Decor?
Everyone at the start of some ray lights start thinking about Barbecues and gatherings with friends and family, as well as opening more the windows to let the sun enter.
Not only our clothing needs to change because of the season, but also because of the warm weather, our home needs a bit of uplift and for that, we have a little sewing project to share.
Easy Sewing Project
Either you are a complete beginner in sewing or crafts, or an expert in making them, making pillows is an easy task.
Either sewing by hand or with a sewing machine, this project require just a bit of things (that you might have or not at home), but here is the tip:
Tip: The secret is in the fabric/pattern design.
Types of Fabric
You can use whatever fabric you have at home, or the pattern design (simple, dots or geometric, flowers, etc).
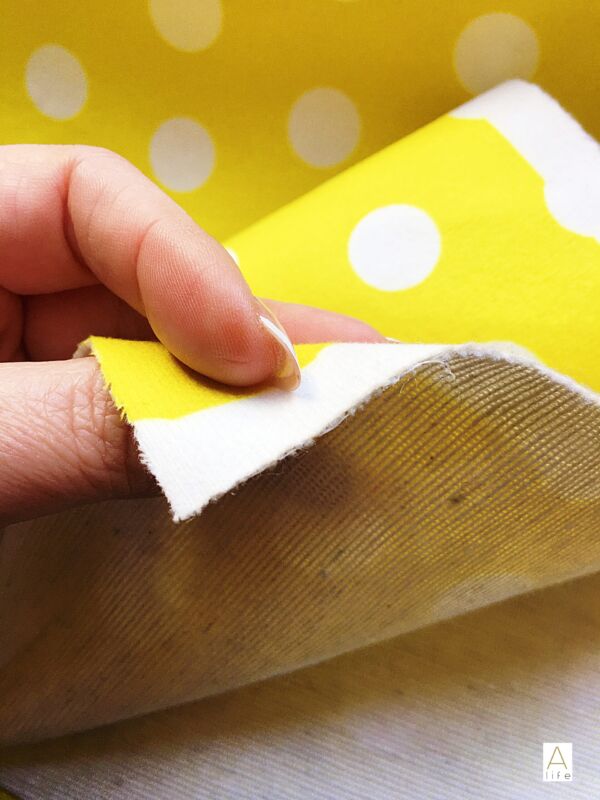
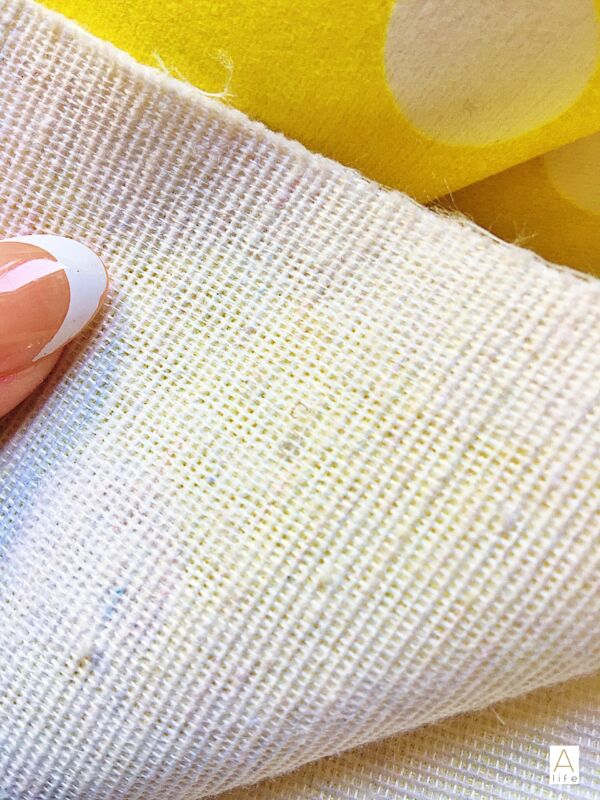
There are fabrics that can be more expensive BUT they can be already prepared for pillows. They will have a more thicker touch but will give a professional finish and last longer in a daily use.
There are fabrics specifically for pillows that can reduce the amount of time when sewing, increases durability and also looks more professional.
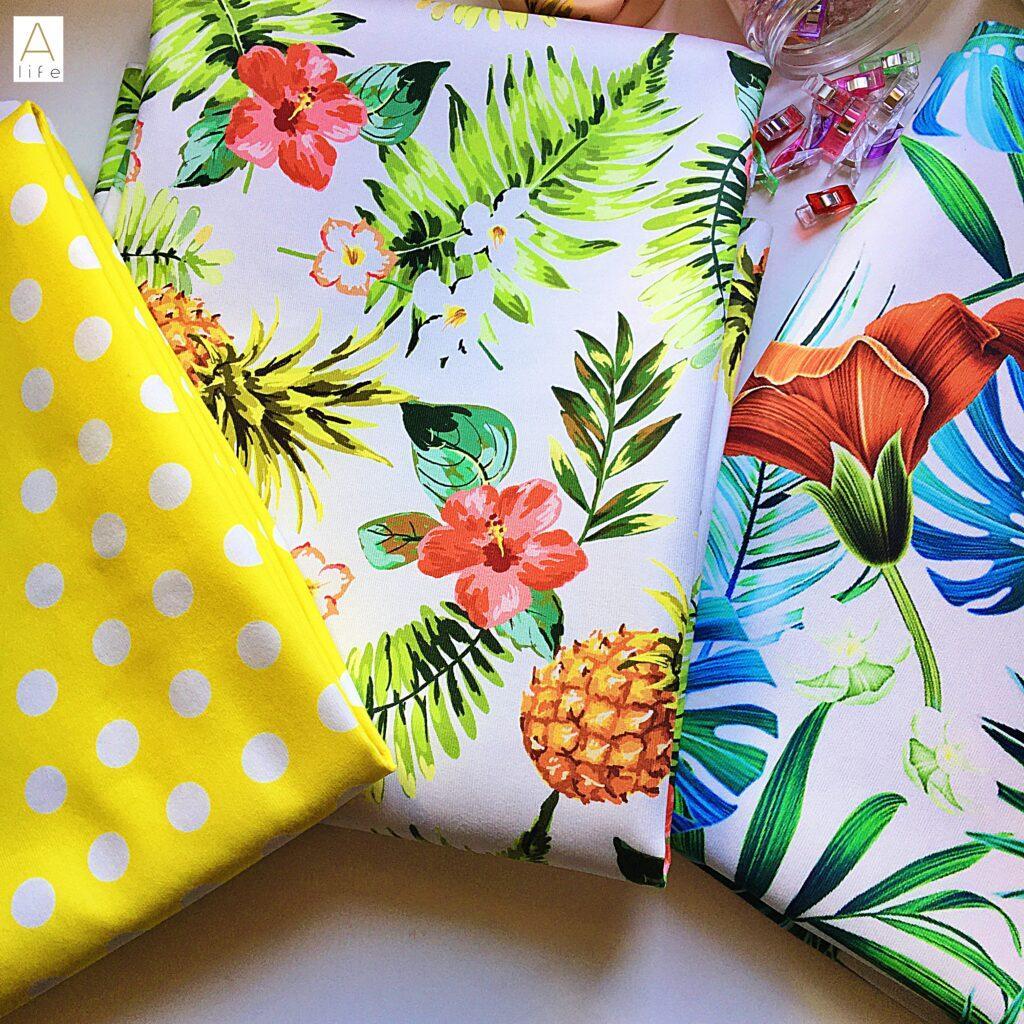
I preferred to grab my fabric from Yorkshirefabricshop.com.
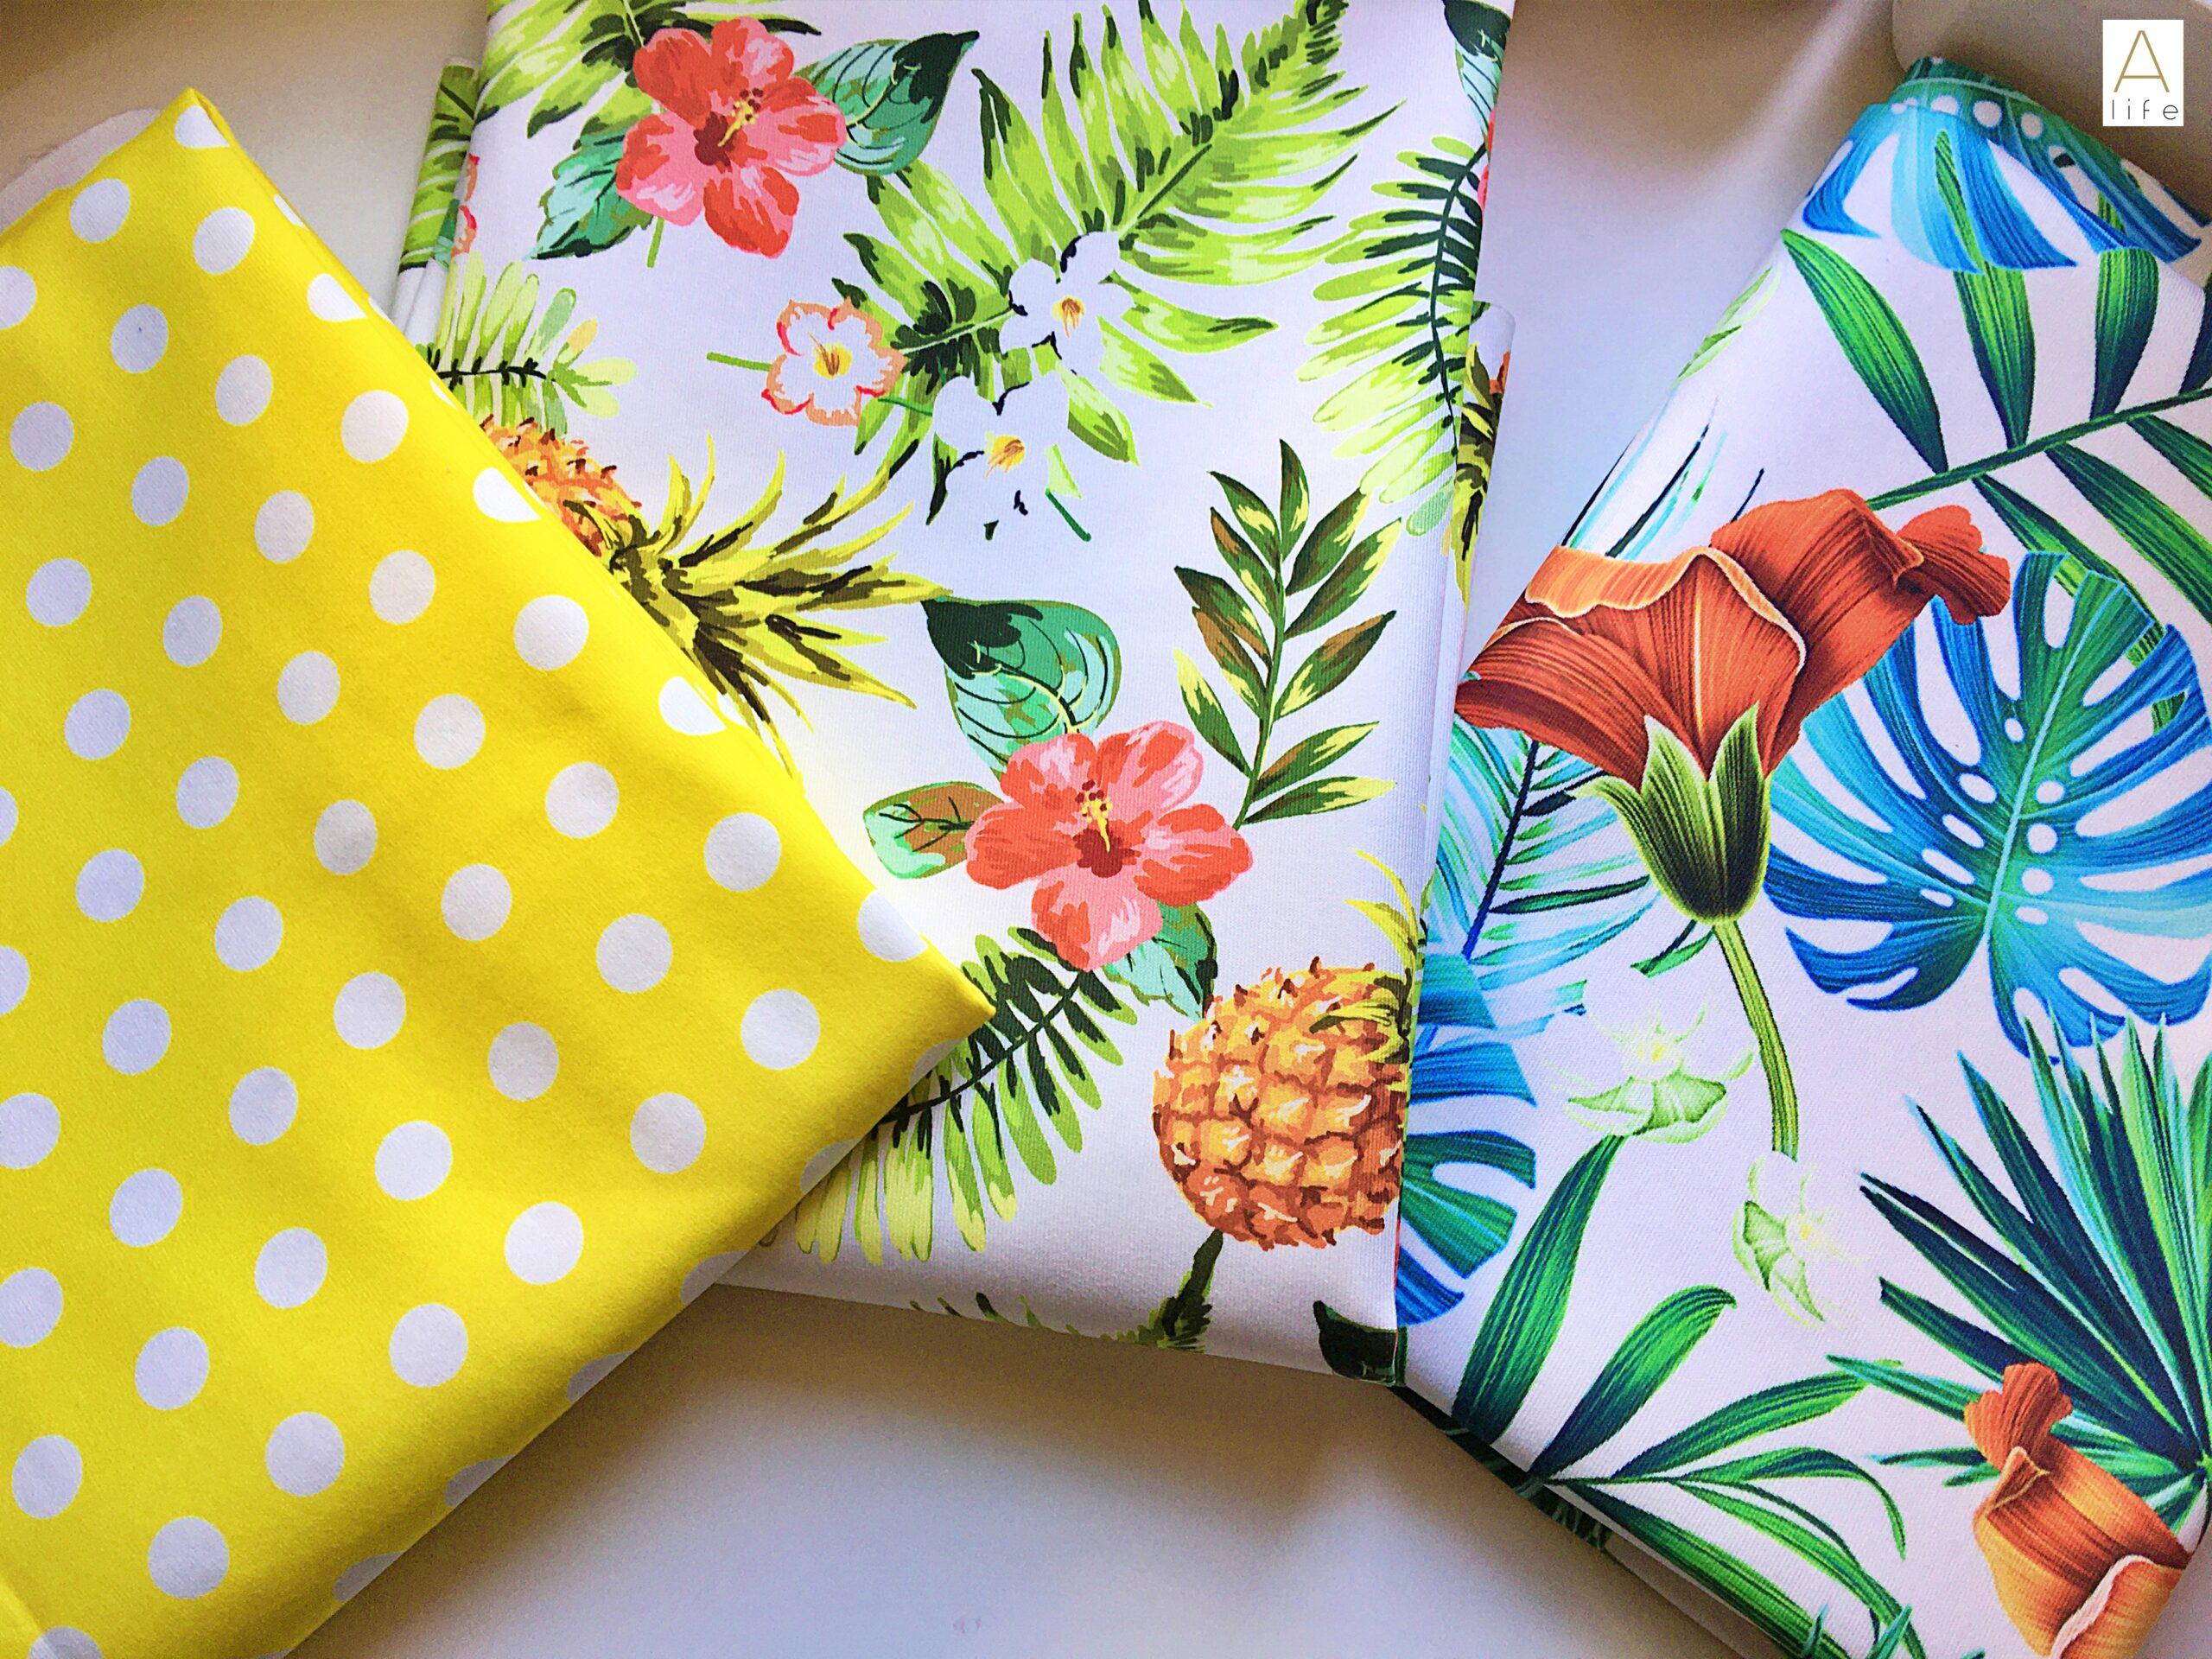
I searched on their website, from the beautiful collection, and decided to get 3 different types of fabrics.
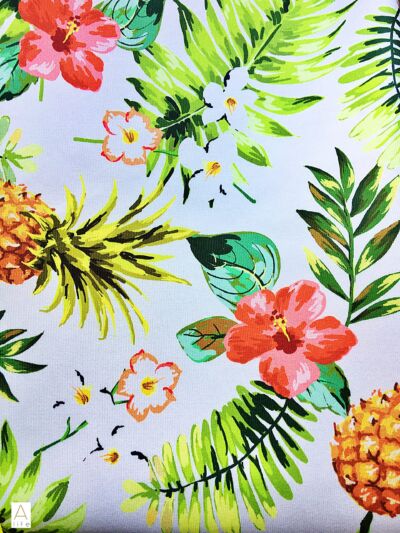
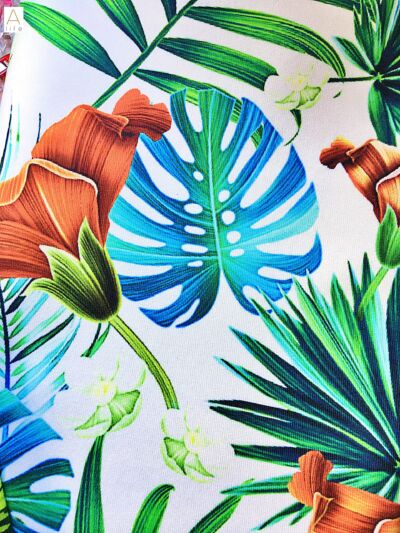
My selection of patterns for this project, reflecting Spring/Summer trend.
For this easy project:
- Grab the pillow(s) you want to use and measure the sides. (Mine were 42cms, I’ve decided to cut the fabric 45cms, to give a seam allowance of 1cms of side).
- Fabric – 1 Metre of fabric will make 1 pillow (more or less)
- Sewing machine or sewing needle
- Thread matching the color of the fabric or a contrast color.
- Scissors or rotary cutter (mat for that)
- Pen and rulers
- Optional: cord or pipping – if you are more experienced, add a zipper.
No gallery template found!
Starting the Project
- Measure your pillows and give at least 1 cm (or more if you’re a beginner) of seam allowance.
- On the wrong side of your fabric, measure and create the square or the shape of your pillow, and cut (do not forget the seam allowance!) – Cut 2 times the shape of your pillow.
- (Optional, if you a zip, add the zipper first. If you want to close the whole pillow jump this step)
- Pick the 2 cut pieces, with right sides together, and sew 3 of the sides with a straight stitch.
- Cut the corners.
- Turn the pillow outside, make sure the corners are ok, and insert the pillow.
- Closing the pillow: for a professional finish, bend the seam allowance to inside and stitch very near the outer edge, so the stitches become invisible.
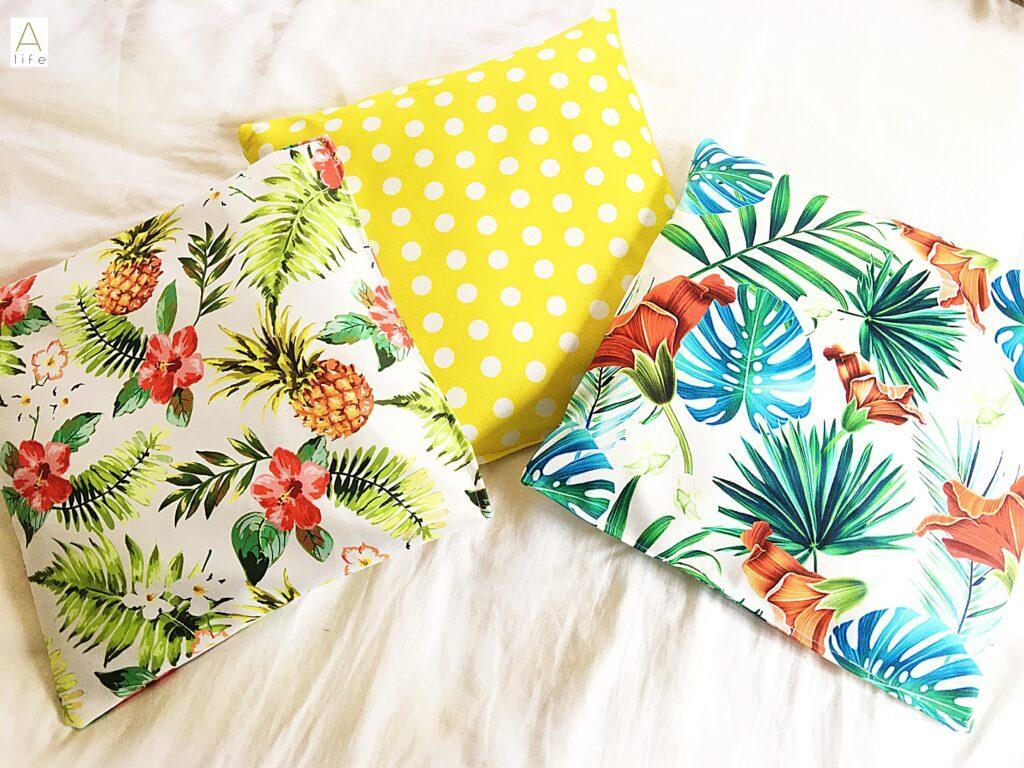
I am very happy with this project!
Beautiful fabrics from Yorkshirefabricshop.com
Enjoy!
If you need any help, leave a comment below.
