Oh Sushi… some love them (me), some hate it, some don’t know and say they hate it. Right?
Us at home love sushi. period. Any day is an excellent day for sushi and each one of us have their preferences.
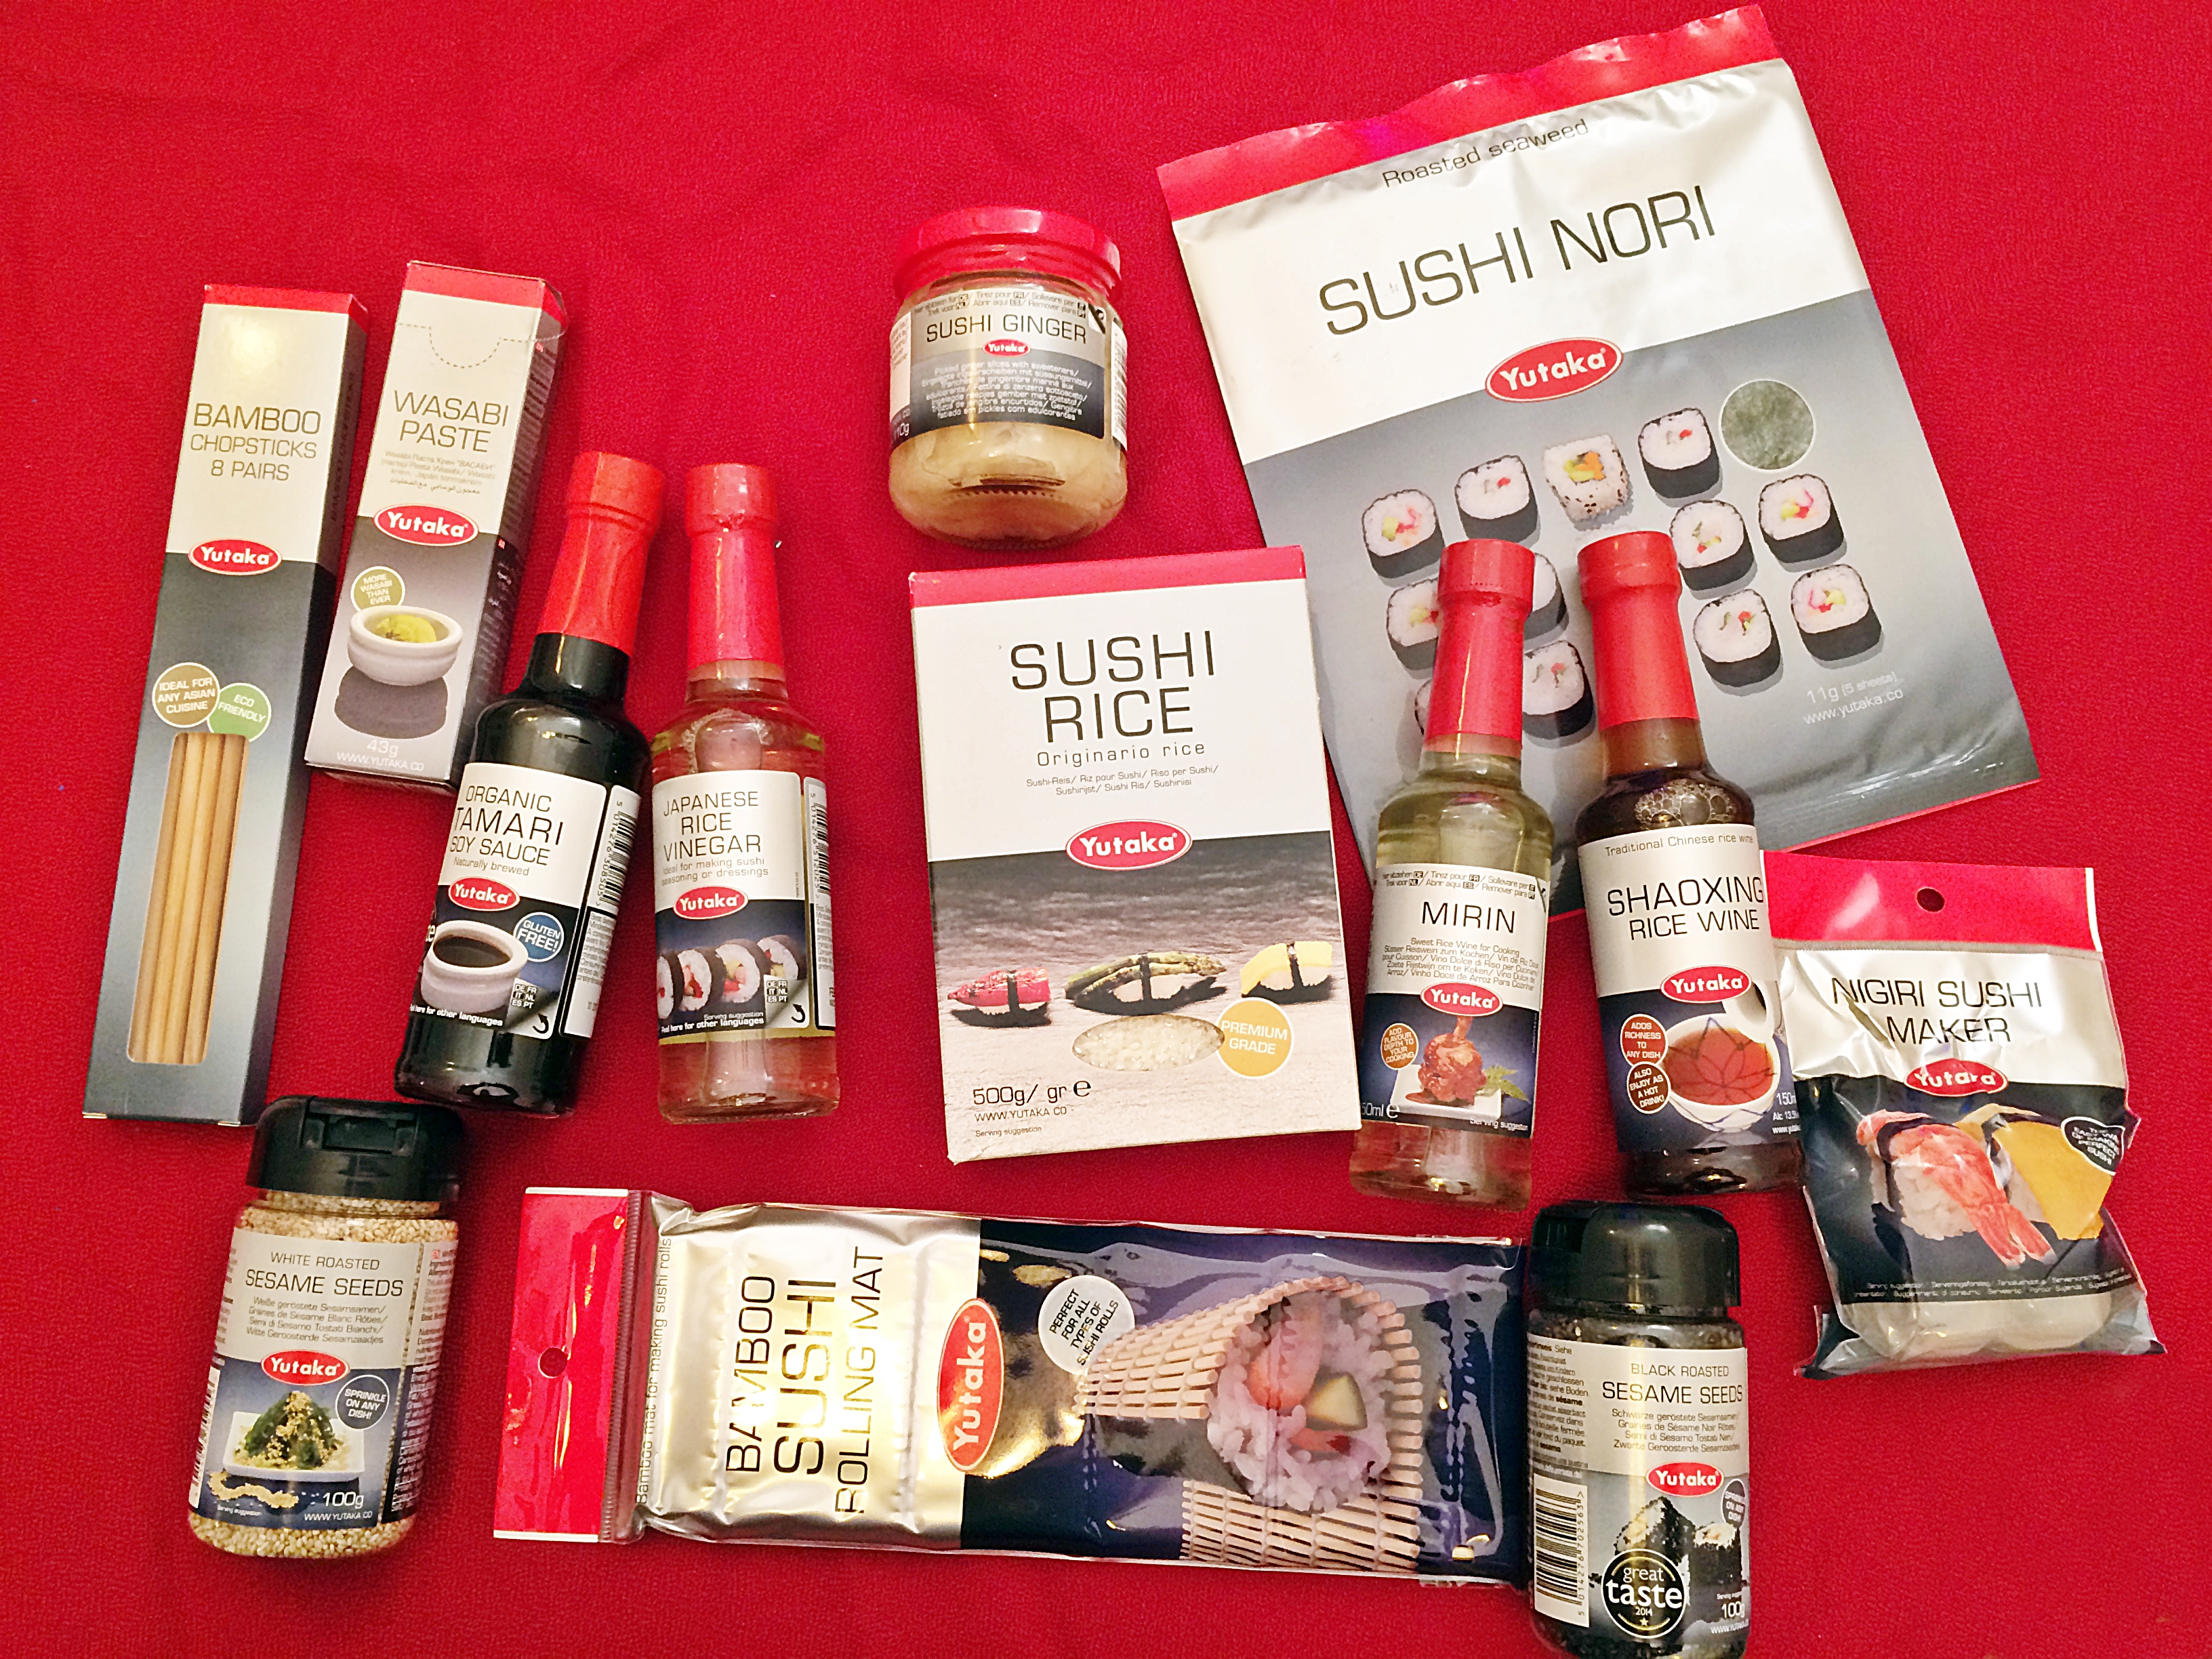
Partnering up with Yutaka, they’ve sent me a huge mega kit to make sushi at home, and it was a great experience and a great learning for the whole family, since I decided it would be a family sunday lunch with everyone gather around the table making sushi. It was such a nice family time.
Now the basic thing to know about sushi is that: It’s easy and affordable if you try at least once or twice. Perfection takes time but we all need to start from the beginning right? don’t be “scared” of messing up, just follow my tips and everything will turn out fine and delicious!
Making the basic – Sushi Rice.
The sushi rice is basically the main thing in sushi. Without it, unless you’re having sashimi (normally raw fish) there isn’t any sushi. Sushi rice can be done previously and can last 2 days in the fridge (seasoned). So you can prepare the day before and anytime you want a piece of sushi, is just pick up sme and prepare it.
How to make the Sushi Rice – Serves 2
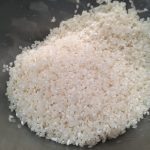
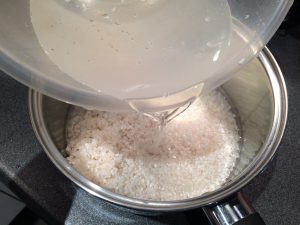
- Put 250 gr of sushi rice in a bowl and wash it with cold water (rinse 4/5 times) until the water becomes clear.
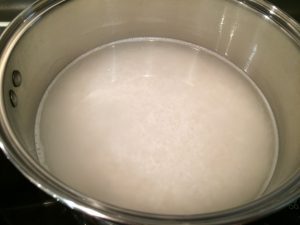
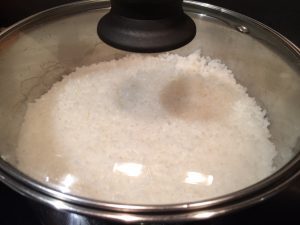
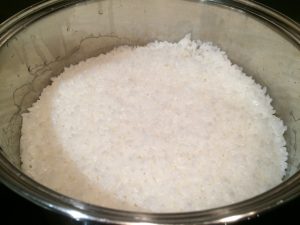
- Add 330 ml of water in a pan and the washed rice. Bring to boil and simmer for 10 minutes with the lid on.
- Turn off the heat and leave it on for 25 minutes. DO NOT OPEN THE LID!
Meanwhile let’s make the Sushi Rice seasoning
The seasoning is the main ingredient for the sushi rice become prepared for sushi rolls and with flavour.
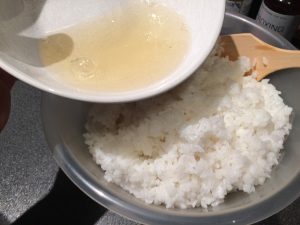
- in a bowl mix 3 tbsp of Yutaka Rice Vinegar
- add 2 tbsp of sugar
- add 1 tsp of salt
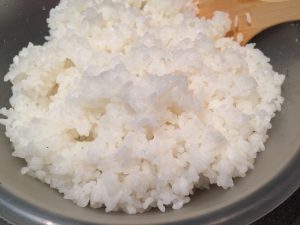
- When the sushi rice has cooled down, fold the seasoning and rice without smashing the rice.
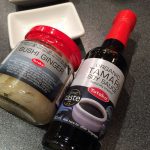
Some of the Optional ingredients you can use for Sushi:
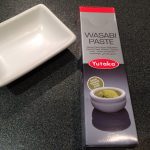
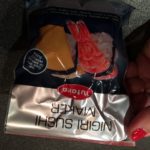
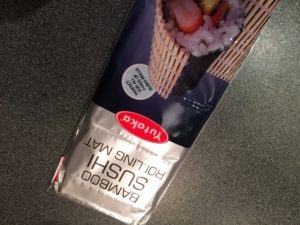
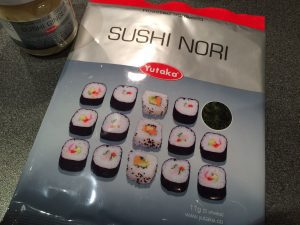
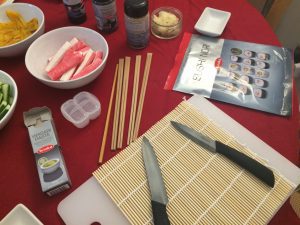
Tools that you REALLY need to make sushi:
Some fillings for the sushi:
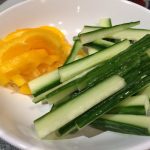
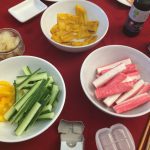
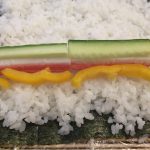
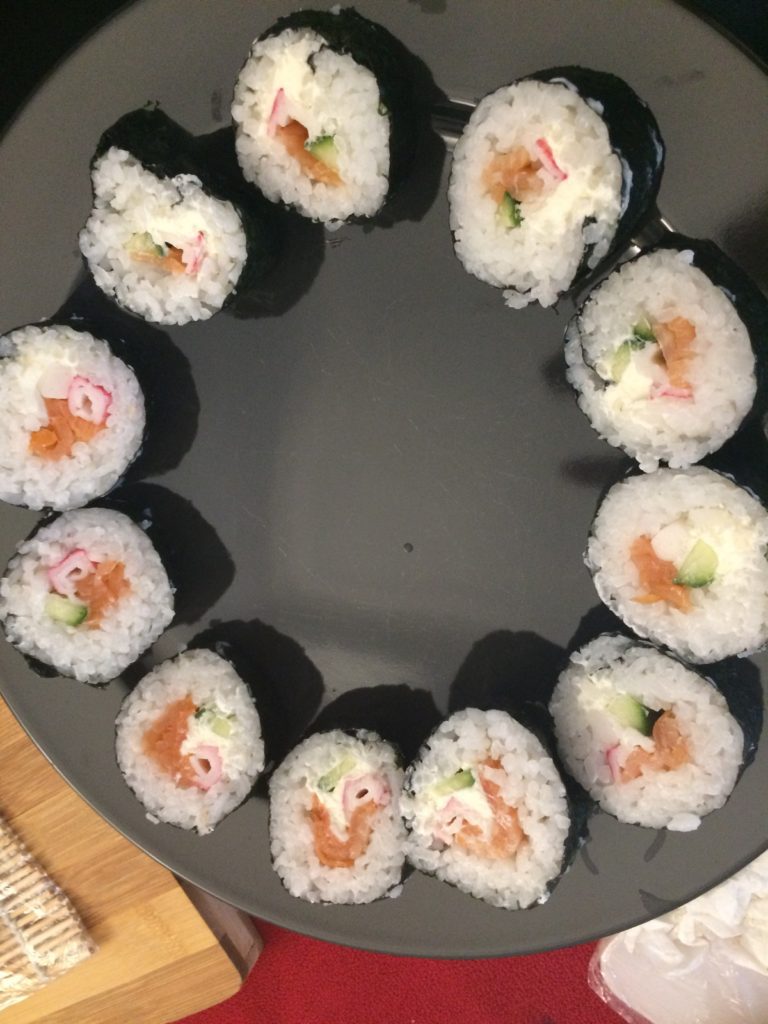
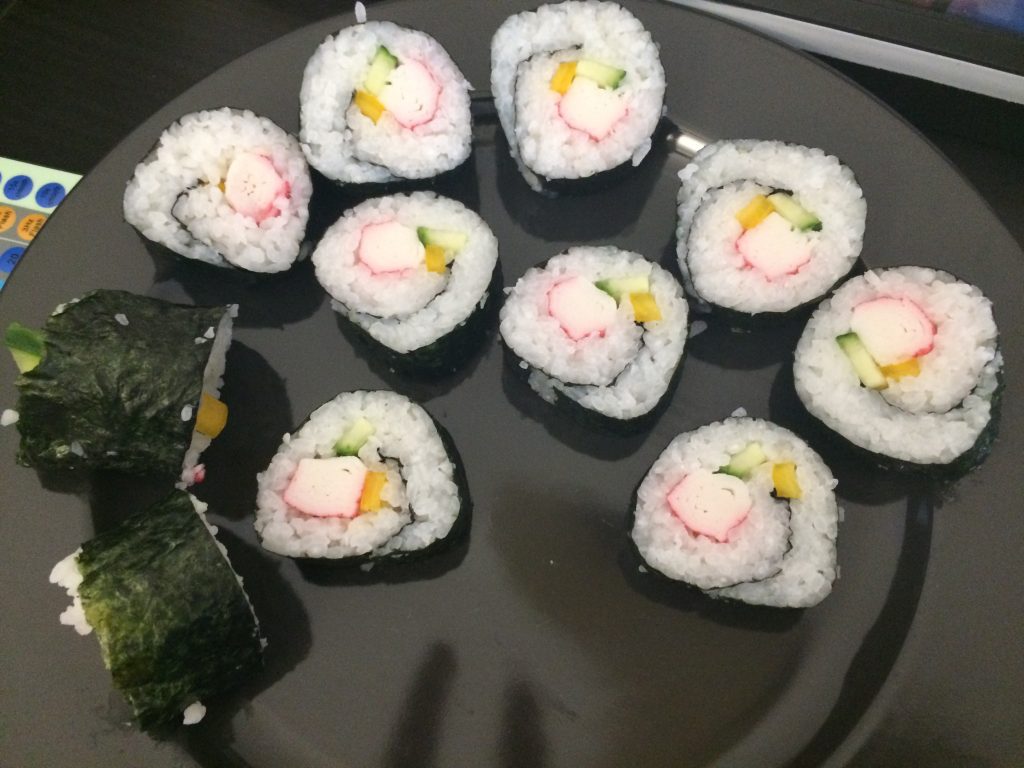
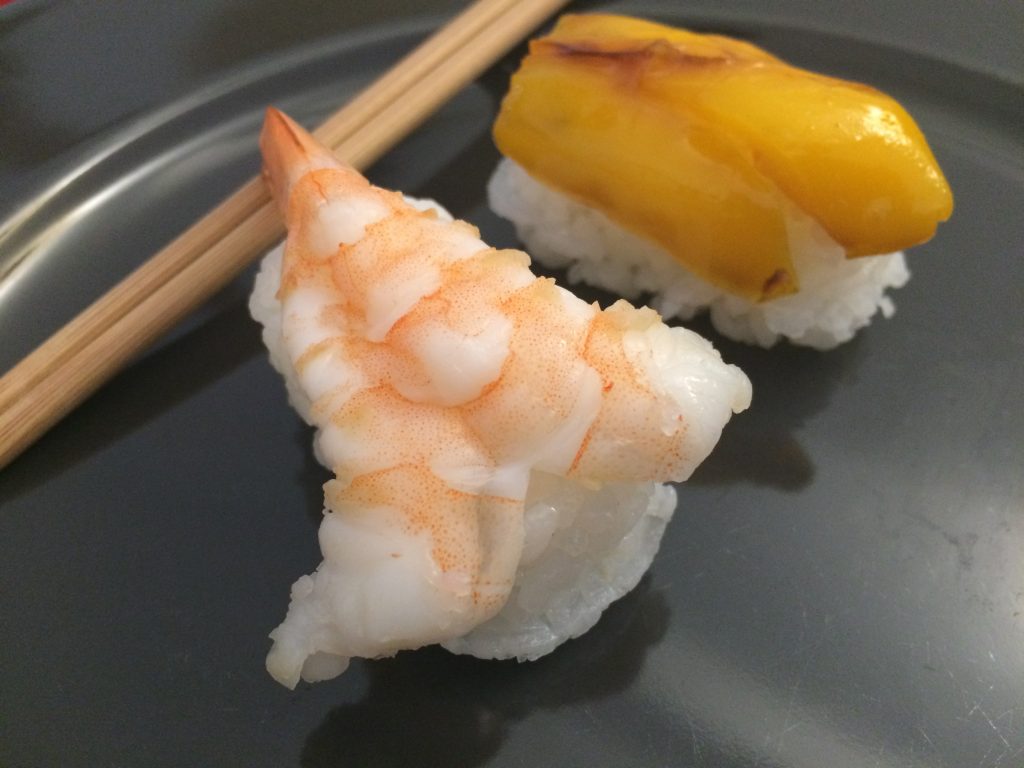
Since I have a little one, I use things he likes to eat and can eat, but this is just my experience, so feel free to make a fusion on what you like. In my case, because of little RJ, I cooked some yellow peppers in Mirin sauce, cooked prawns used some smoked salmon (I don’t give him fresh salmon…just in case something goes wrong and he is too little). But here are some of the ingredients – cucumber is one of the major ingredients.
Some ingredients you can use:
- avocado
- cream cheese
- mayo
- spring onions
- roasted onions (my house is a onion free zone…yuck)
- fruit (strawberry or kiwi – mango for sure!)
- let your imagination run free.
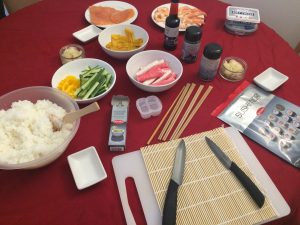
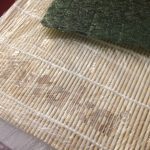
Our cooking station was like this:
Tips!
- use a bit of oil on you hands and knife – this way the rice won’t stick on your hands and knife
- use a cling film in the rolling mat – to keep the mat clean
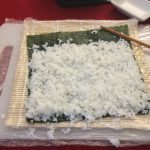
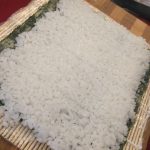
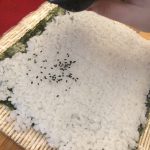
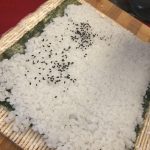
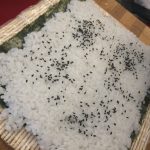
- make sure when spreading the rice, you can see the grains and not put a bunch of rice. Spread it evenly so the roll won’t be full of rice.
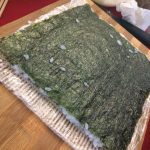
- the Nori sheets have 2 sides – a rough one and a sleek one. always use the rough one for the rice.
- Always remember – in the beginning, and just to practice, less is more!
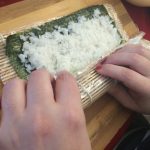
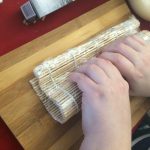
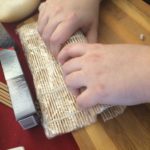
- While rolling, make sure you are pressing the roll, so it stays beautifully rolled in the end.
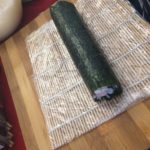
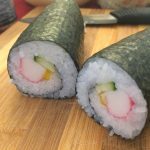
Rolling – See the step by step:
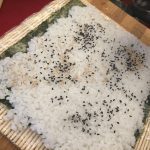
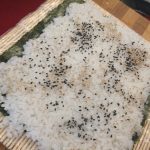
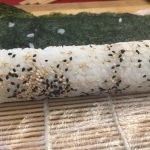
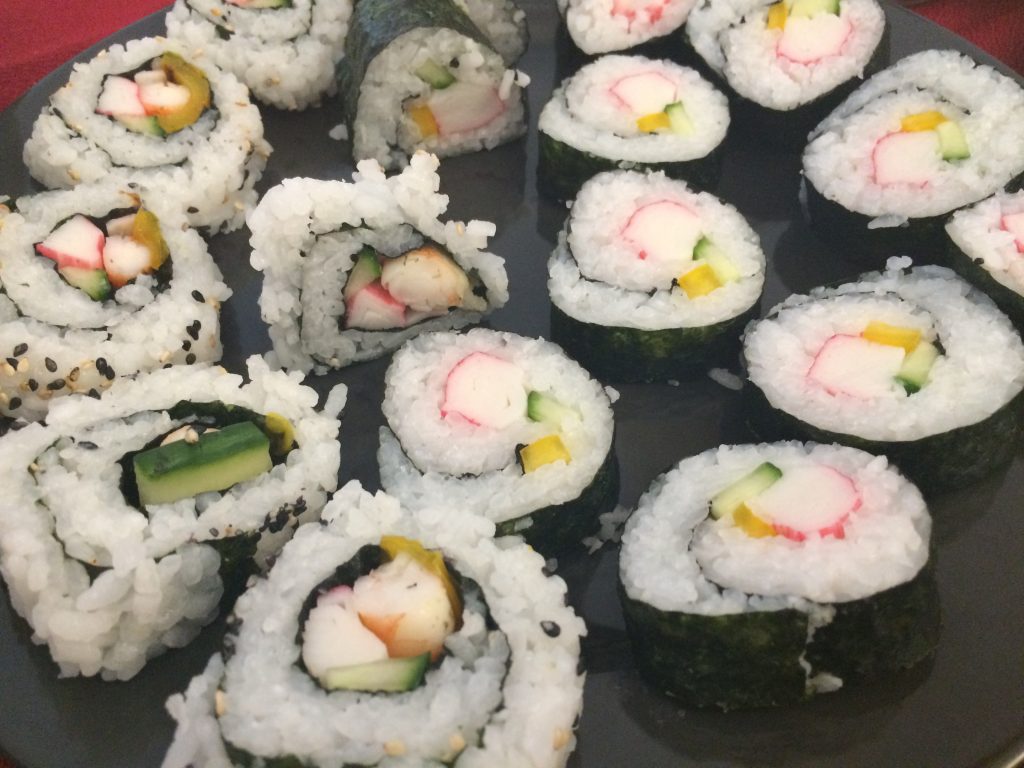
Rolling differently – rice on the outside
Other type of sushi:
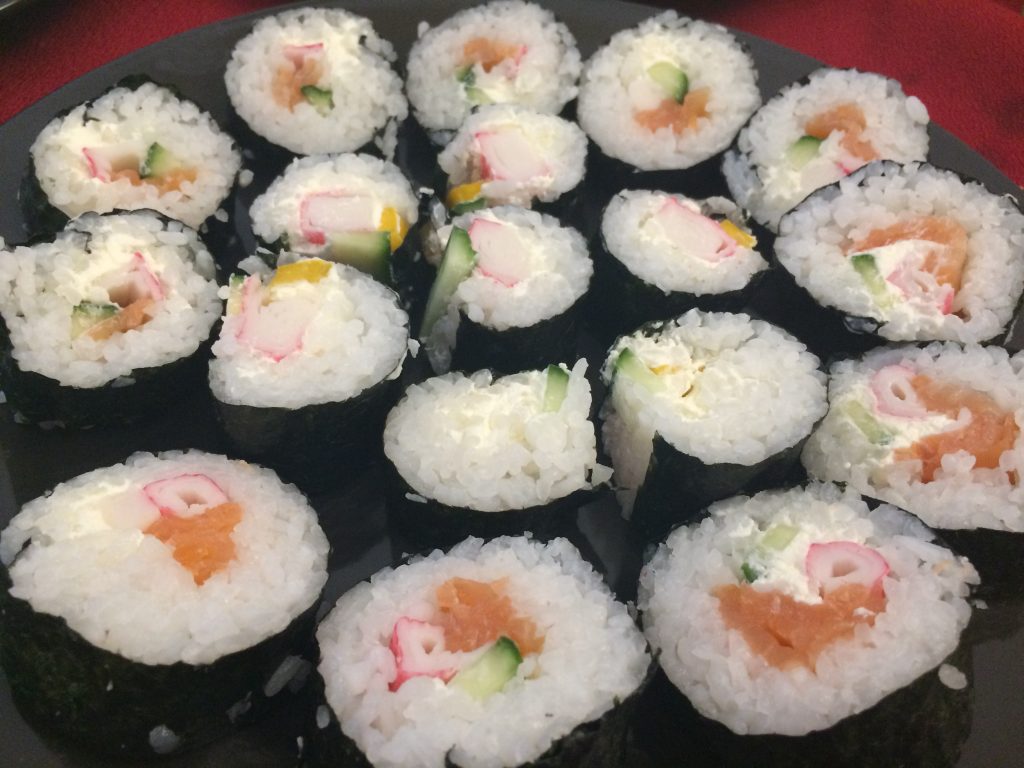
Final table view of our work:
Believe me when I say that this was my first time making sushi at home! And I am really proud of me and my “team” in the end.
What do you think?
Show me your photos on social media tagging me @alelifeofficial!!
Thank you to Yutaka for this experience!!

